
Last updated November 21, 2026
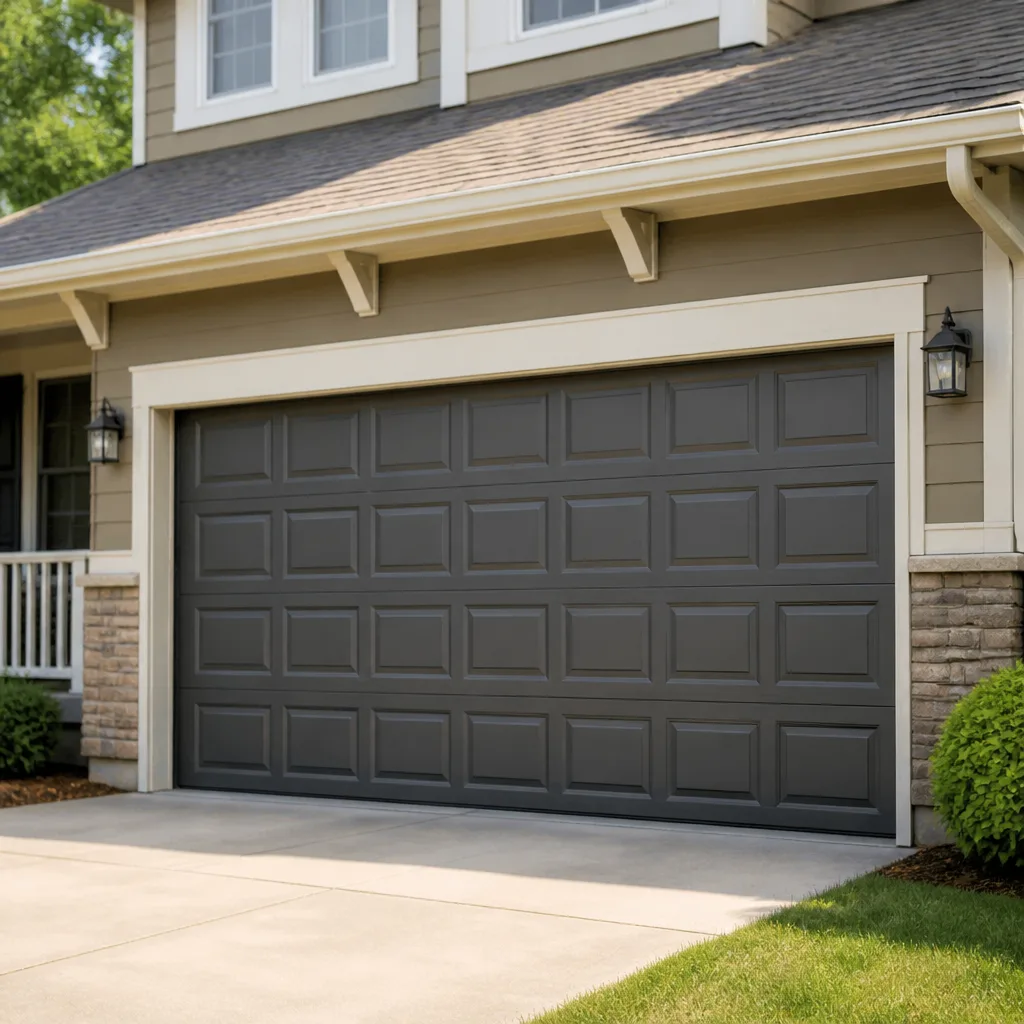 Raised-panel steel
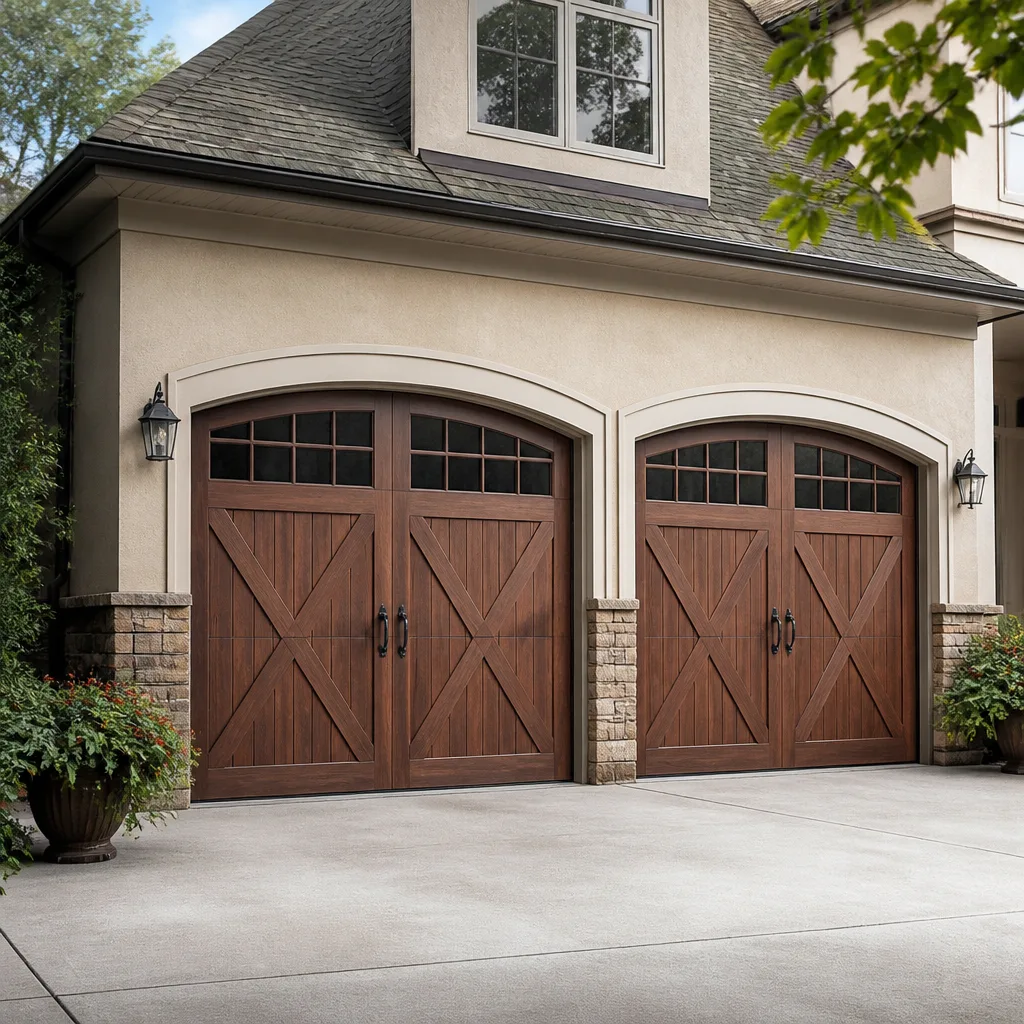 Carriage house
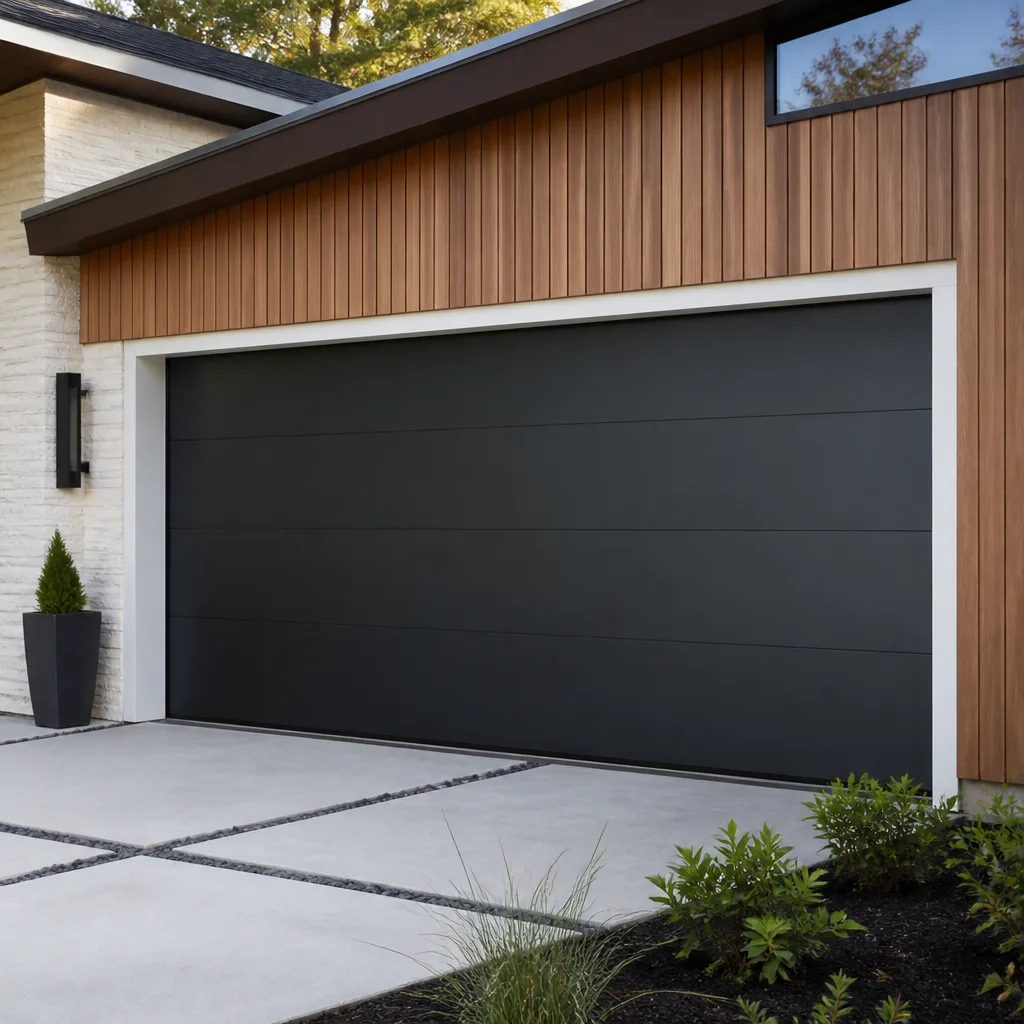 Modern flush
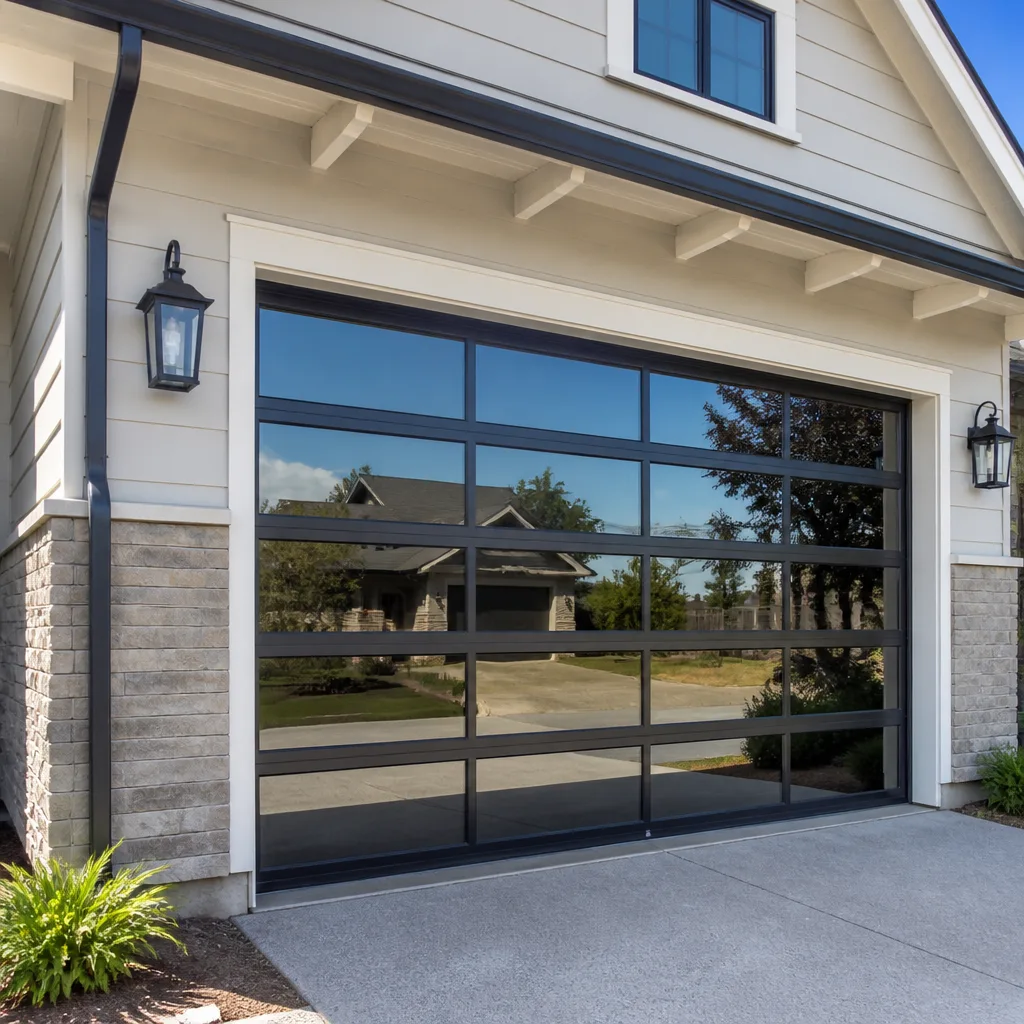 Full-view glass
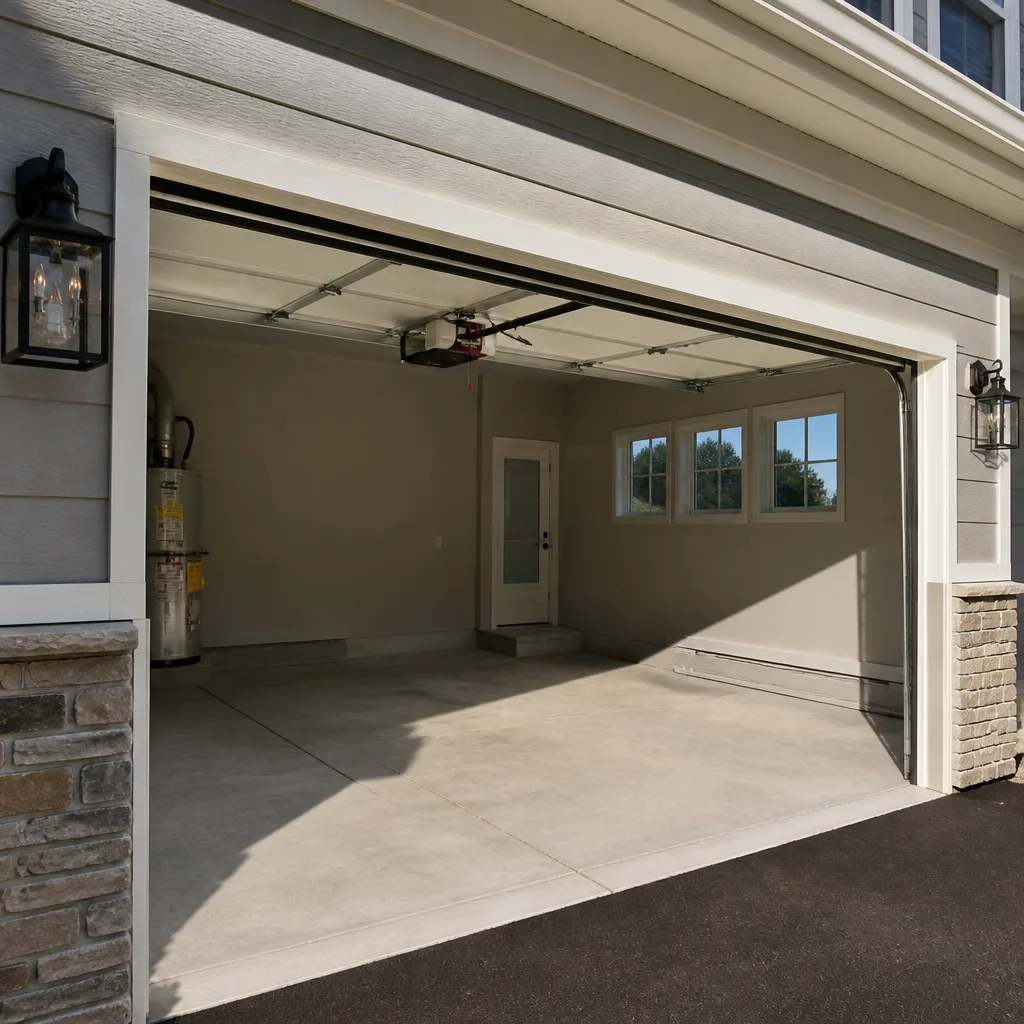 LiftMaster openers
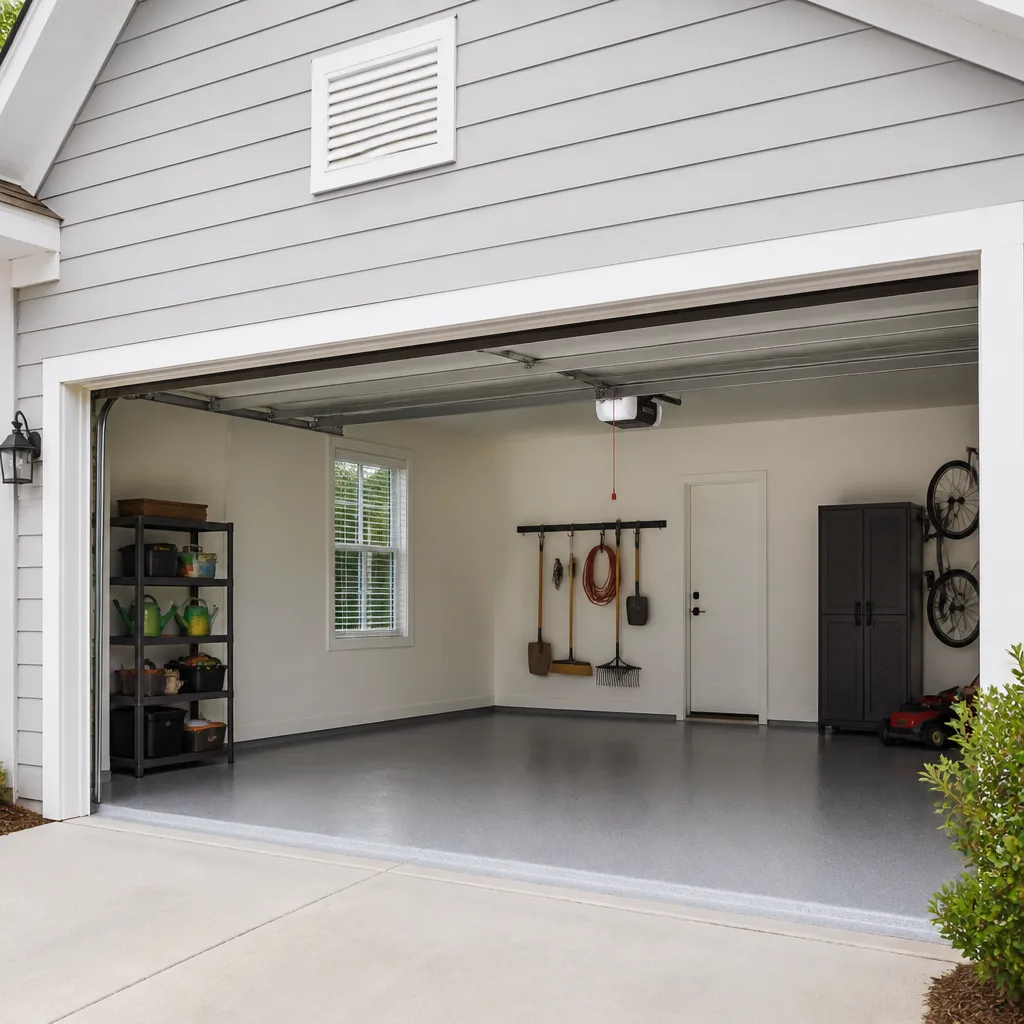 Chamberlain openers
Full 25-point door and opener safety check with every visit - springs, cables, rollers, tracks, and your LiftMaster or Chamberlain opener included
You get a price before we start. It does not change when the pro arrives.
Get your free estimateGarage Door Repair Maintenance Checklist for Richmond Homeowners
The number one cause of emergency garage door calls in Richmond isn’t sudden failure. It’s deferred maintenance that crossed a tipping point, usually during the first cold snap of November. A torsion spring that’s been quietly losing tension since August doesn’t announce itself. It waits until the morning you need to leave, then lets go with a bang the whole block hears. What most homeowners get wrong isn’t skipping maintenance entirely. It’s doing the checks out of order, or doing the easy ones and calling it done. This guide gives you a technician-grade inspection sequence you can run in about 20 minutes, with the reasoning behind each step, so you catch a failing component weeks before it strands your car.
Quick Answer
A garage door maintenance checklist for Richmond should follow a fixed sequence: visual inspection from the ground first, then balance and travel testing, then hardware tightening, then lubrication, then safety-reverse and photo-eye testing last. Run this sequence roughly every six months, and add a check after any hard cold snap or stretch of summer heat above 95°F. The order matters because a door that’s out of balance will mask or worsen every other problem you find, and lubrication applied before you’ve tightened loose hardware just makes the loose hardware harder to spot.
Styles & brands we work with
- Raised-panel steel
- Carriage house
- Modern flush
- Full-view glass
- LiftMaster openers
- Chamberlain openers
Table of Contents
- Why the Order of Your Checks Matters More Than the Checks
- The 20-Minute Inspection Protocol, Step by Step
- What Richmond’s Climate Wears Out Fastest
- How Often to Inspect Each Component
- The Right Lubricants for Virginia Summers and Winters
- Stop and Call: Red Flags vs. DIY Fixes
- How to Document Condition and Build a Repair-vs-Replace Case
- Common Mistakes to Avoid
Why the Order of Your Checks Matters More Than the Checks
Most checklists you’ll find online are unordered lists of tasks: lubricate this, tighten that, test the safety reverse. Treat those as a menu and you’ll finish in ten minutes feeling productive while missing the thing that actually matters. A garage door is a balanced mechanical system, and balance is the foundation every other component depends on. Check balance first and a hundred other readings suddenly make sense. Check it last and you’ve been evaluating a door that’s fighting itself the whole time.
Here’s the logic. If the torsion spring has lost tension, the door feels heavy, the opener works harder, the rollers wear faster, and the tracks take lateral load they weren’t designed for. That chain of wear produces symptoms at four or five different points. A homeowner who inspects the rollers first and finds them worn will replace the rollers, then find the same wear returns in a few months, because the real cause was upstream. The sequence isn’t a preference. It’s the difference between fixing a symptom and finding a cause.
We work on Richmond Garage Door Repair Pros calls constantly where the actual failure traces back to a component the homeowner never examined because it was buried in the middle of a checklist they ran in random order. When our technicians have up to 14 years of experience on the brand you already own, the sequence they follow is instinct by now. Here it is, laid out for you in the order that actually surfaces problems.
Run the checks from the floor first, then work upward and inward. A spring under tension is a stored energy component that can release without warning, so never put your hands near the torsion bar, cable drums, or bottom brackets. Visual inspection from a safe distance comes before any hands-on step, every time. That single rule prevents more injuries than any other habit in this trade.
The 20-Minute Inspection Protocol, Step by Step
Follow these steps in order. Each one takes a couple of minutes, and the whole sequence fits into a single cup of coffee. Don’t skip ahead. Step four only tells you something useful if steps one through three already told you the door is fundamentally sound.
- Stand back and look at the whole door in daylight. Walk to the end of your driveway and check the panel lines for sag, bowing, or misalignment. Look at the gap between the bottom seal and the floor. A door that lists to one side or sits crooked is telling you the balance or the tracks are off before you touch anything.
- Inspect the spring assembly from a safe distance. With the door closed, look at the torsion spring above the door (or extension springs along the sides). You’re checking for visible gaps in the coil, rust streaks, or a stretched-out look. Never touch, measure, or adjust a spring yourself; that’s a trained-technician job.
- Check the cables and drums visually. Cables should run straight and evenly on both sides. Fraying, kinks, or a cable that’s jumped its drum means stop here and call.
- Test balance with the door disconnected. Pull the red release handle to disengage the opener, lift the door to about halfway, and let go. A properly balanced door holds roughly where you left it. If it slams down or drifts up on its own, the spring tension is wrong.
- Test the manual travel. Still disconnected, raise and lower the door by hand. It should move smoothly with steady resistance. Grinding, catching, or a sudden stiff spot points to rollers, hinges, or a track problem.
- Tighten the hardware. Reconnect the opener, then check the hinge bolts, roller brackets, and the track bolts with a socket wrench. Loose hardware is the most common source of rattle in a door that’s otherwise fine. Snug, don’t overtighten.
- Inspect the rollers and hinges. Look for flat spots on steel rollers, cracks in nylon rollers, and worn hinge pins. Replace anything that’s visibly worn before it chews up the track.
- Lubricate the moving parts. Apply the right lubricant to the hinges, rollers, and spring (a light coat only on the spring), and wipe off the excess. Details on which products work in Richmond are below.
- Test the safety reverse and photo-eye sensors. Place a box or board in the door’s path and close it; the door should reverse on contact. Then wave a hand through the photo-eye beam near the floor and confirm the door reverses. This is the last step because it’s the one most likely to fail on a door that’s otherwise healthy, and it’s the most important safety check you’ll run.
That’s the whole sequence. If any step turns up a red flag, stop and read the section below before continuing.
What Richmond’s Climate Wears Out Fastest
Richmond sits in a climate that’s hard on moving metal. Summers push past 95°F for stretches, and the humidity that comes with them stays high well into the evening. Winters bring regular freezes and the occasional hard snap that drops into the teens. That daily swing between hot and cold, combined with humidity, is what drives the wear pattern we see most in the city.
The components that degrade fastest here, in rough order:
- Steel rollers and hinges. High summer humidity accelerates surface rust on steel rollers. A rusted roller stops turning and starts grinding against the track. This is the single most common wear item we find on Richmond doors in late summer.
- Torsion springs. The heat-and-cold cycle puts constant load cycling on the spring. Cold snaps are when springs break, because the metal contracts and the stored tension finds the weakest point. If your spring is several seasons old, a November cold snap is exactly when it’s most likely to let go.
- Bottom seals and weatherstripping. Virginia humidity and summer sun dry out and crack rubber seals faster than in cooler, drier climates. A cracked bottom seal lets in water, insects, and cold air, and it lets the door sit unevenly against the floor.
- Wood or composite panel finishes. If you own a wood-look Clopay or Amarr door, the finish takes more UV and moisture cycling here than in drier regions. Peeling paint on the lower panels is a seasonal signal to reseal.
- Opener drive components. A Genie or LiftMaster belt or chain working harder against a slightly out-of-balance door wears faster in the heat. Humidity also affects the lubrication in the rail.
One more Richmond-specific note: the spring cold snaps that hit in November and the summer heat domes in July and August are both transition points. Those are the two times a year when a door that seemed fine a month ago suddenly isn’t. Time your inspections around them.
How Often to Inspect Each Component
Here’s where a Richmond schedule diverges from the generic national advice you’ll find on most manufacturer sites. National guidance often says “inspect annually,” written for a climate average that doesn’t match ours. In Richmond, the heat and humidity cycle justifies tighter intervals on the components that fail fastest.
| Component | National Average Recommendation | Richmond Recommendation |
|---|---|---|
| Balance and travel test | Once a year | Every six months, plus after any hard freeze |
| Spring visual inspection | Once a year | Every six months, and again after the first cold snap |
| Rollers and hinges | Once a year | Every six months; steel rollers checked more often in humid summers |
| Lubrication | Once a year | Twice a year, spring and fall |
| Bottom seal and weatherstripping | Once a year | Every six months, and after summer |
| Safety reverse and photo-eyes | Once a year | Every six months, monthly if you have kids or pets using the driveway |
| Hardware tightening | Once a year | Every six months |
Two inspections a year covers it: one in late spring, before the summer heat, and one in late fall, before the first freeze. Both take 20 minutes. If you drive your door open and closed more than six times a day, add a mid-summer roller and hinge inspection, since cycle count drives wear more than calendar time.
For doors that are ten or more seasons old, or that have already had a spring or roller replaced, a professional inspection once a year is worth the call. Our technicians have up to 14 years of experience reading the wear patterns on a door, and a trained eye catches a spring that’s a month from failing long before the homeowner would. That’s the value of a maintenance visit versus a repair call.
The Right Lubricants for Virginia Summers and Winters
Lubricant choice matters more in Richmond than in most places because the product has to keep working across a 100-degree swing. A lubricant that’s perfect in July can turn to gum in January. The wrong product does more harm than no product, because it attracts grit that then grinds into your moving parts.
What works here:
- White lithium grease or a silicone-based garage door lubricant for hinges, roller stems, and the spring. These hold up across the temperature range and don’t attract dust the way thicker greases do.
- A dry silicone spray or a light coat of white lithium on the torsion spring, applied sparingly. A heavy coat on the spring just collects grit that wears into the coil.
- Chain-and-cable lubricant for the opener’s chain drive, if you have one. Belt-drive openers from LiftMaster or Chamberlain generally need less attention in the rail.
- A silicone-based lubricant on the bottom seal and any rubber weatherstripping to keep it from drying and cracking in summer UV.
What to avoid in Virginia:
- Heavy automotive or chassis grease. It thickens in winter cold, and in summer humidity it becomes a magnet for grit. It’s the number one product we find on doors that are grinding when they shouldn’t be.
- WD-40 or similar general-purpose spray. It’s a solvent, not a garage door lubricant. It cleans off existing lubricant and leaves the metal dry, which is worse than where you started.
- Cooking sprays and any product you’d spray on a pan. They gum up fast and leave a sticky residue that holds dust.
- Graphite powder on rollers or tracks. It can migrate into the opener and accumulate in ways that are hard to clean out.
Lubricate twice a year here: once in spring, before the heat, and once in fall, before the freeze. Wipe off any excess. A thin coat that stays put beats a thick coat that attracts grit.
Stop and Call: Red Flags vs. DIY Fixes
Some items on this checklist are safe for any homeowner to handle. Others are genuinely dangerous, and no checklist is worth an injury. Here’s the split, with the reasoning so you can judge for yourself.
Safe to handle yourself:
- Tightening loose hinge and track bolts with a socket wrench, with the door fully down and the opener disengaged.
- Applying lubricant to hinges, rollers, and the spring (light coat only).
- Replacing a worn bottom seal or weatherstripping.
- Cleaning the photo-eye lenses and re-aligning them if they’ve drifted.
- Replacing a dead opener remote battery or re-pairing a remote.
Stop and call a professional:
- Any spring problem at all. A torsion spring carries enough stored energy to cause serious injury if it releases unexpectedly, and the tools to adjust one safely are specialized. This is the component to never touch. Our team handles both torsion and extension spring work directly, and it’s the part of the job most owners should never attempt.
- Frayed or jumped cables. A cable under tension is a stored-energy hazard the same as a spring. Don’t cut, adjust, or re-seat one yourself.
- A door that’s fallen off its track. The door’s weight makes re-seating a track job dangerous without the right equipment.
- A door that reverses or closes on its own repeatedly after a sensor check. That’s an opener logic fault, not a sensor fault, and it needs garage door opener repair rather than a homeowner workaround.
- Visible panel cracks or structural damage to the door face. A cracked panel can fail under load, and it needs a proper rebuild or replacement.
- Any door that won’t stay up on its own. That’s a spring or balance failure, and it belongs with a trained technician. Spring failures don’t wait for a convenient time, so when this happens, call rather than attempting to prop the door.
If your door is stuck and you can’t get your car out, or the door is standing open and your house is exposed, that’s an emergency service call. We answer emergency calls because a door that won’t close is a home that isn’t secured. We answer 24/7. Fast dispatch from 7am to 7pm, Sunday through Friday.
How to Document Condition and Build a Repair-vs-Replace Case
Most homeowners replace a door when it fails suddenly, and they make the decision in a panic with no information. A better approach is to keep a simple maintenance log so that by the time you’re facing a big repair, you already have the evidence to decide whether to repair or replace.
What to record, every inspection:
- Date and season of the inspection. Note whether it fell after a cold snap or a heat dome, since that context explains the wear you saw.
- Balance test result. “Held at halfway” or “drifted down” or “drifted up,” written down in plain language.
- Spring condition. Note the visual condition, any visible gaps or rust, and whether the spring has ever been replaced. Don’t measure the spring yourself, just note what you see.
- Rollers and hinges. Note which rollers are steel vs. nylon, and which ones show flat spots or rust.
- Safety reverse and photo-eye results. Pass or fail, and any adjustment you made.
- Photos. One clear photo of each side of the spring assembly, the bottom seal, and the hinge line. Photos taken six months apart reveal wear that’s invisible day to day.
- Repairs made. Note any parts you replaced, and the date, so you can judge how long each component lasted.
After two or three years of this log, patterns emerge. You’ll see whether you’re replacing rollers every few months (a sign of a balance issue upstream) or a spring that’s aging on schedule. When you eventually face a decision between repairing a failing door and replacing it, the log tells you whether the door has been healthy or has been limping along. That’s far better evidence than a memory of “it’s been fine until now.”
When you’re ready to talk about garage door installation, bring the log. It helps our team recommend a Clopay, Amarr, or Wayne Dalton door that fits how you actually use the door, rather than guessing. And if the log shows the current door has plenty of service life left, we’ll say so.
Common Mistakes to Avoid
- Lubricating before tightening. If you grease a loose hinge bolt, the bolt keeps working loose and the grease masks it. Tighten first, then lubricate.
- Using automotive grease because it’s on the shelf. In Virginia’s climate, automotive grease thickens in cold and attracts grit in humidity. It’s the wrong product and it’s actively counterproductive on a garage door.
- Adjusting the spring yourself to “fix” a heavy door. The spring is under stored energy and adjusting it is the most dangerous thing a homeowner can try. Don’t. Call us.
- Skipping the safety reverse test at the end. It’s the one check that protects your family, and it’s the one most often skipped because it feels like a nuisance. It’s not optional, and it’s the last thing you should test before you’re done.
- Ignoring the bottom seal because it looks fine. Summer sun and humidity crack rubber seals from the inside out. Run your hand along the bottom edge in fall and you’ll catch a seal that’s a season from failing.
- Cleaning the photo-eyes with a rag and forgetting to check alignment. A sensor that’s slightly out of alignment lints up over a few weeks and starts causing nuisance reverses. Realign while you’re cleaning.
- Treating “it still opens” as maintenance. A worn spring or a rusted roller still lets the door open for a while. That doesn’t mean it’s safe. The whole point of this sequence is to catch the failure before it strands you, not after.
See the difference
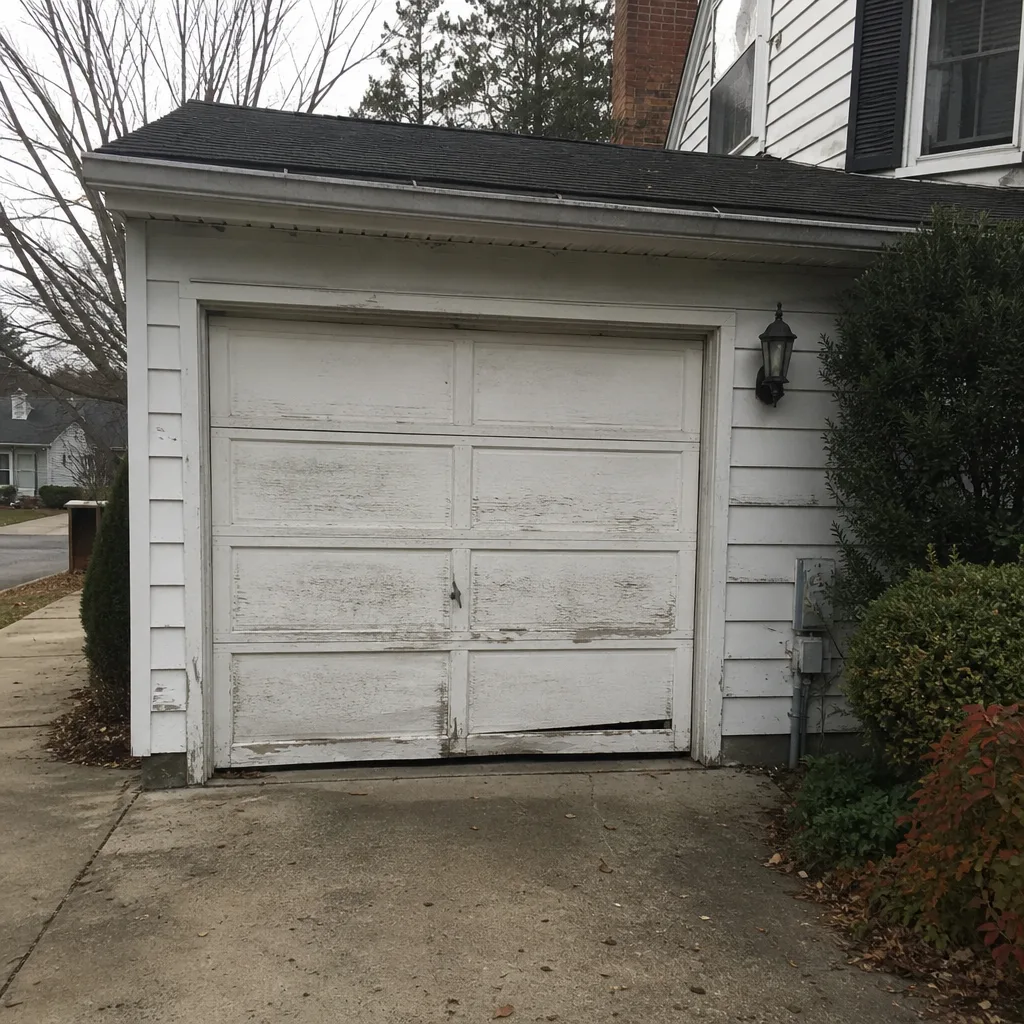 Before
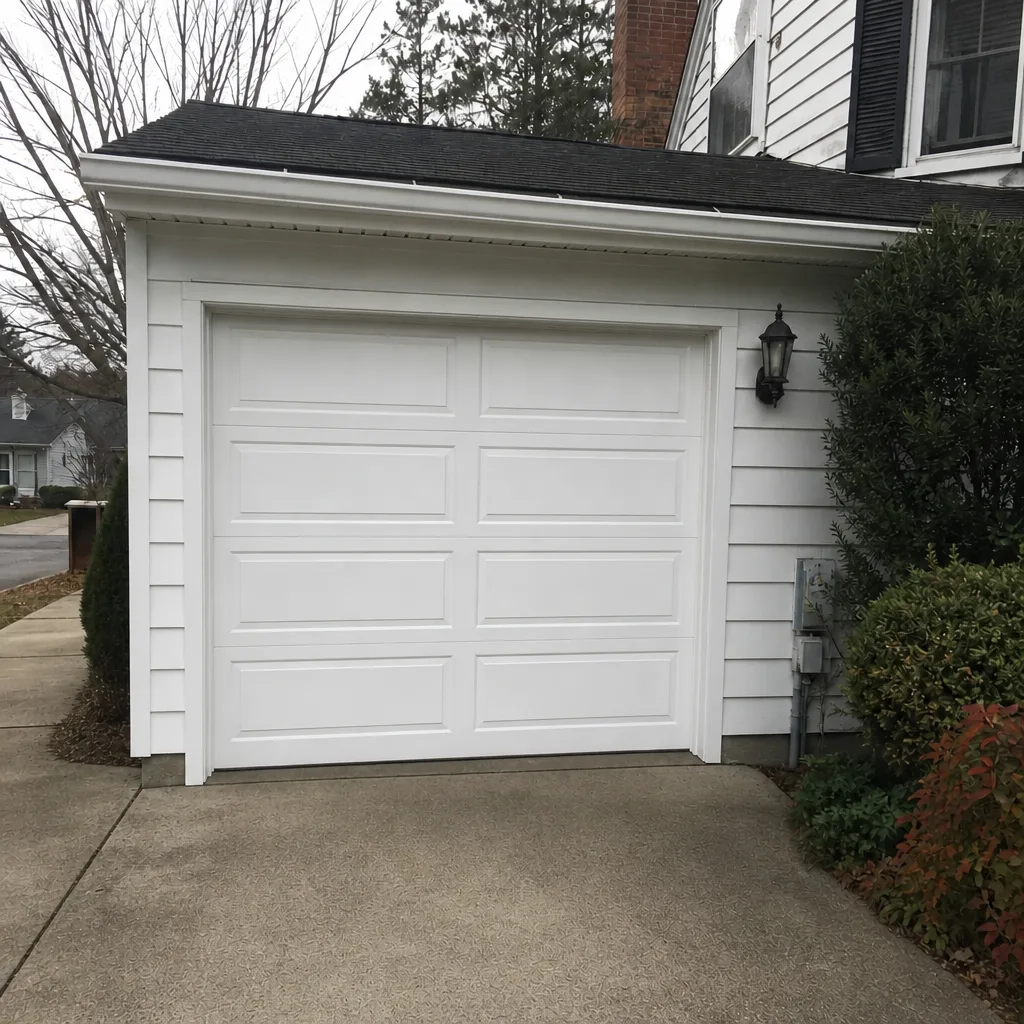 After
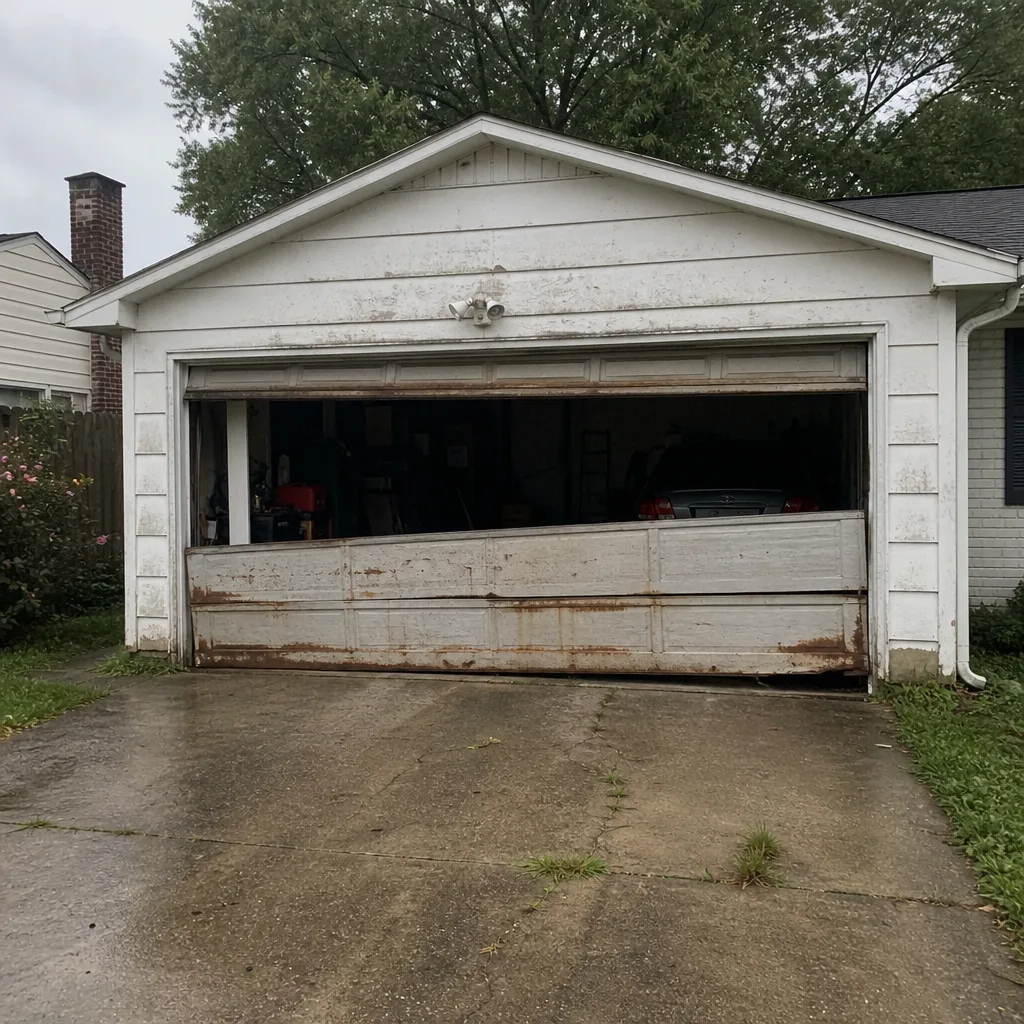 Before
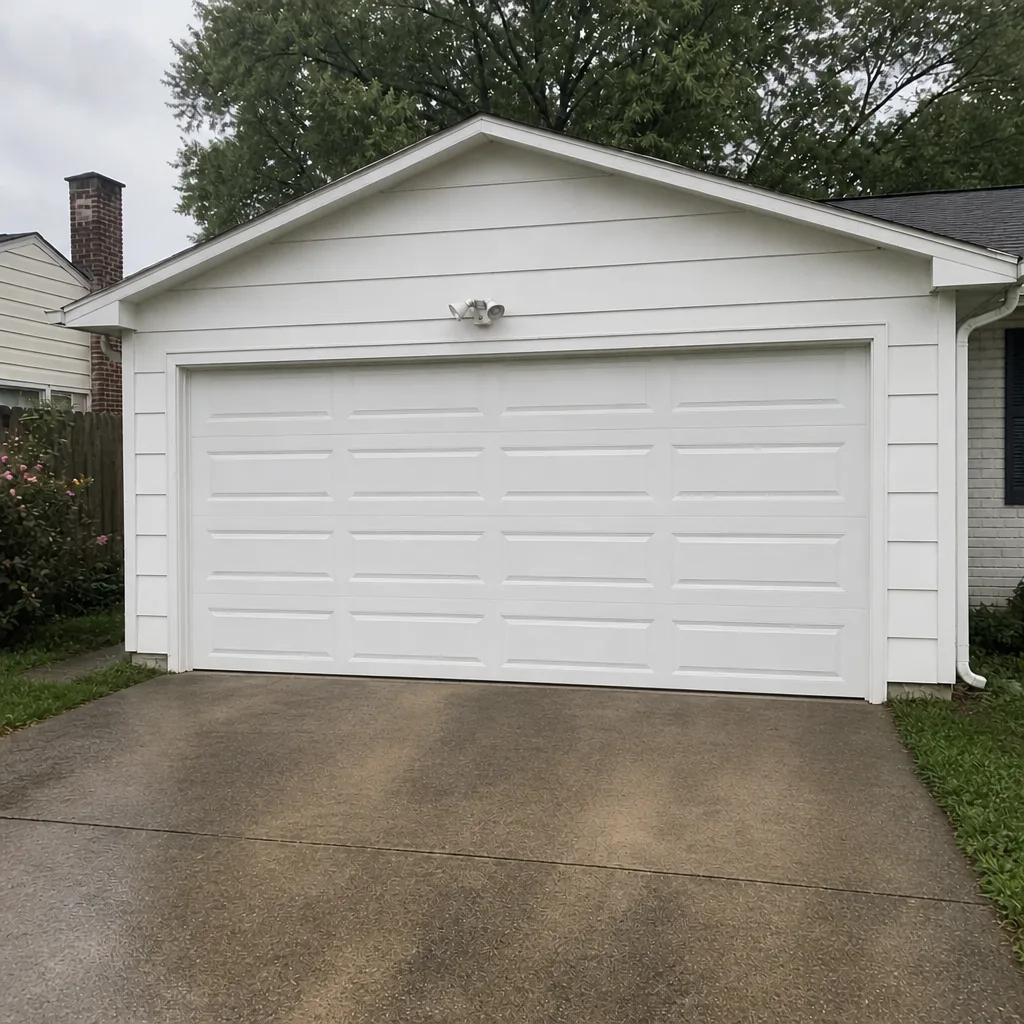 After
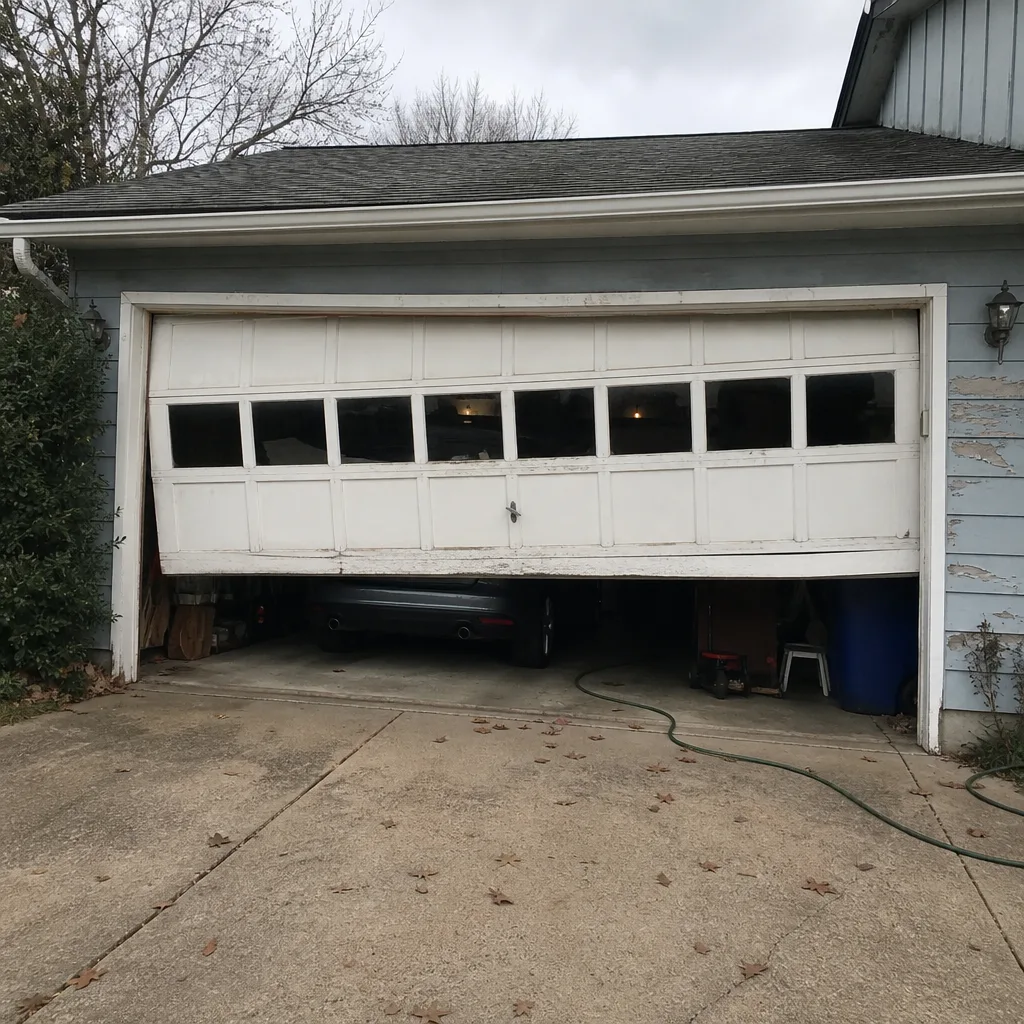 Before
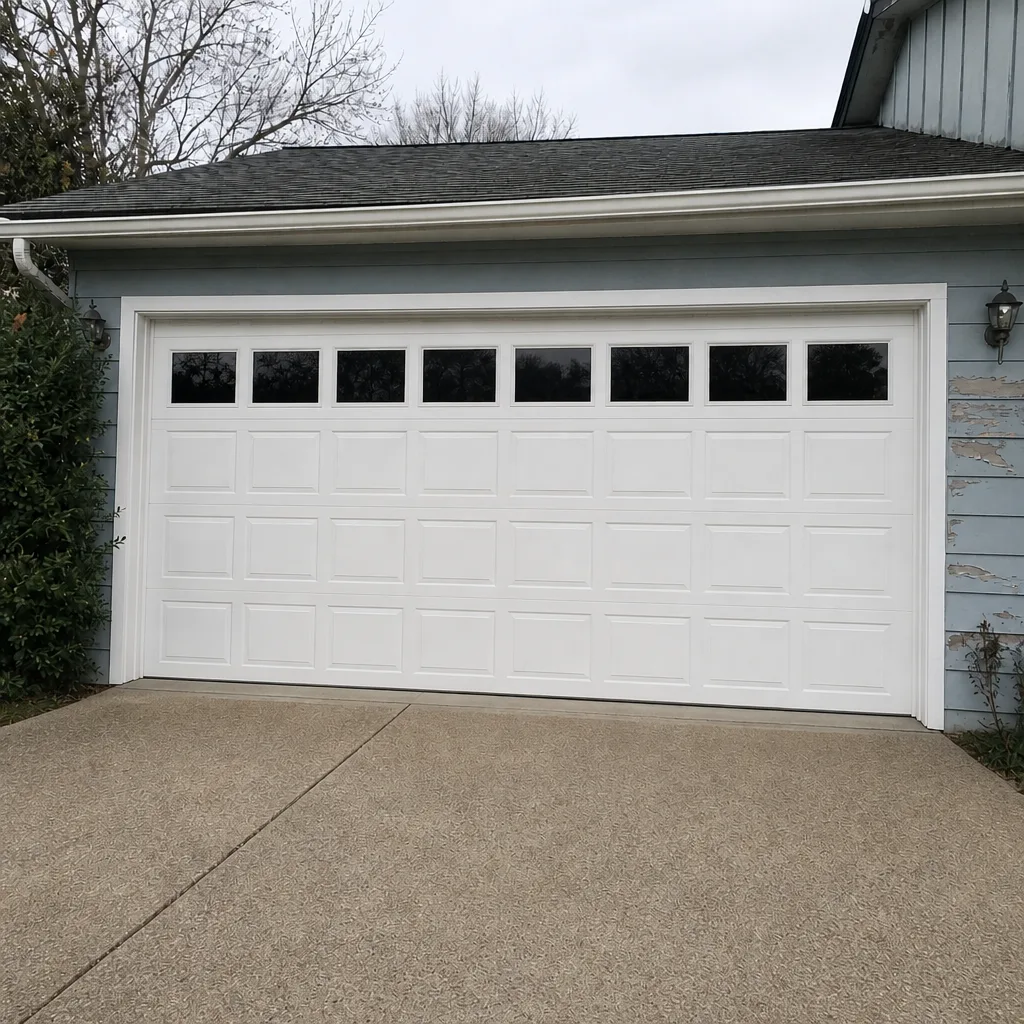 After
When to Call a Professional
Call a professional if any part of the safety sequence in this guide flags a problem you can’t fix safely, if the door is off its track, if a cable is frayed or jumped, or if a door won’t stay up on its own. Those are stored-energy jobs that belong with a trained technician. Call if the opener reverses or closes on its own even after you’ve confirmed the sensors are clean and aligned. And call if you own a door that’s ten seasons old or more and you’ve never had it looked at, since a trained eye catches wear you can’t see from the ground.
Richmond Garage Door Repair Pros offers free estimates in Richmond. Call (866) 353-3562 to set up an inspection. Our technicians have up to 14 years of experience and work on the brand you already own, from a Genie opener logic fault to a Wayne Dalton panel replacement. We’re specialists: garage doors only, no plumbing, no HVAC. If your door fails on a Friday night, call anyway. We answer 24/7, and dispatch runs from 7am to 7pm, Sunday through Friday.
Frequently Asked Questions
Every six months is the right schedule for Richmond: once in late spring, before the heat, and once in late fall, before the first freeze. That’s more often than the generic annual recommendation because our summer humidity and winter cold cycles wear out rollers, seals, and springs faster than a climate-average schedule assumes. If your door cycles more than six times a day, add a mid-summer roller and hinge check. Call (866) 353-3562 for a free estimate if you’ve skipped a few seasons.
No. A torsion spring carries enough stored energy to cause serious injury if it releases unexpectedly, and adjusting one safely requires specialized tools and training. Broken, sagging, or misbalanced springs should always go to a trained technician. We handle both torsion and extension spring work directly. If your spring has failed, call (866) 353-3562 for a free estimate.
White lithium grease or a silicone-based garage door lubricant works best here, because it holds up across the temperature swing from summer heat to winter cold. Avoid heavy automotive grease, general-purpose sprays like WD-40, and cooking sprays. They thicken in cold, attract grit in humidity, or leave sticky residue. Apply twice a year, spring and fall, and wipe off the excess. If your door is grinding despite fresh lubricant, call (866) 353-3562.
Cold weather causes three problems at once: the spring metal contracts and weakens, the lubricant thickens, and any existing balance issue gets worse. The result is a door that feels heavy or won’t trip the opener on cold mornings. If the door still works but slows down in the cold, the balance is probably marginal. If it stops or reverses, the spring may be failing. Call (866) 353-3562 for a free estimate before the situation gets worse.
Keep a simple maintenance log and let the record decide. If you’re replacing the same component repeatedly, or the door is a decade or more old and repairs are stacking up, the log will show a pattern of decline that a panic decision misses. If one component fails but the door is otherwise healthy, repair is usually the better move. Bring your log to a garage door repair estimate and we can help you compare repairing the current door against replacing it. Call (866) 353-3562.
Springs, cables, and off-track doors need a professional in almost every case, because they carry stored energy or require equipment you don’t have. Rollers, hinges, seals, and opener sensors are generally homeowner territory. The split matters because the dangerous parts are the ones that fail fastest in Richmond’s heat-and-cold swing, which is exactly why the inspection protocol puts a professional check on the spring twice a year. Call (866) 353-3562 for a free estimate.
The Bottom Line
Maintenance catches wear before it becomes a repair, and the sequence is what makes the difference. Run the checks from the floor up: stand back, inspect the spring and cables visually, test balance, test manual travel, tighten hardware, check rollers, lubricate, then test the safety reverse and photo-eyes last. Do it twice a year, add a check after cold snaps and heat domes, use silicone or white lithium rather than automotive grease, and always keep your hands off the spring itself. Keep a simple log with dates and photos so that when a big decision comes, you’re deciding with evidence rather than from a panic.
If any step in that sequence turns up something you shouldn’t handle, that’s what we’re here for. Richmond Garage Door Repair Pros covers the full range, from a Genie opener repair to a complete Clopay, Amarr, or Wayne Dalton installation, and our team is factory-familiar with the brands you already own. Call (866) 353-3562 for a free estimate. We answer 24/7. Fast dispatch from 7am to 7pm, Sunday through Friday.
Written by the team at Richmond Garage Door Repair Pros.